Have you ever tried to pour latte art at home only to end up with a sad milky blob instead of a beautiful heart or rosette? Don’t worry—everyone starts there.
To help you avoid the most common pitfalls, we teamed up with Dávid Štefánik, aka bayreesta, who’s spent over a decade mastering and teaching latte art. In this guide, we walk you through the five most frequent mistakes beginners make and, more importantly, how to fix them.
This video was sponsored by Standard Magazine – our favourite print publication for specialty coffee lovers. Grab a free issue (just cover shipping) at standardmag.com/ect.
Mistake #1: Bad Milk Texture
If your milk is too thin, too thick, or full of bubbles, your latte art won’t work—no matter how perfect your pour is.
Common causes:
- Too thin: Steam wand is submerged too deep. You’re heating but not aerating the milk.
- Too thick: Wand stays on the surface too long, introducing too much air.
- Oversteamed: Milk becomes overly hot, textured poorly, and may even taste burnt.
How to fix it:
- Submerge only half of the steam wand’s tip into the milk.
- Let it create a vortex and listen for that “tearing paper” sound.
- Stop steaming when you can no longer hold the jug comfortably.
💡 Pro tip: Use a thermometer when starting out to avoid overheating.
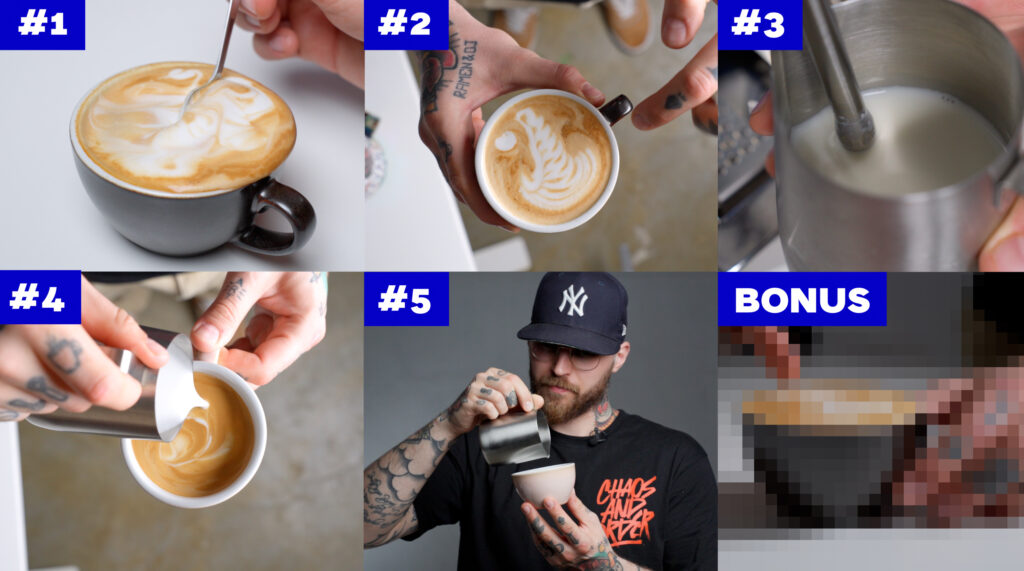
Mistake #2: Poor Pouring Technique
When starting the pour, speed matters.
Too fast: The milk sinks, separating from the coffee.
Too slow: The milk stays on top, forming blotches.
Solution: Steady mixing. Hold the cup in one hand and the jug in the other. Pour until the coffee and milk combine into a smooth base, filling roughly one-third to half of the cup.
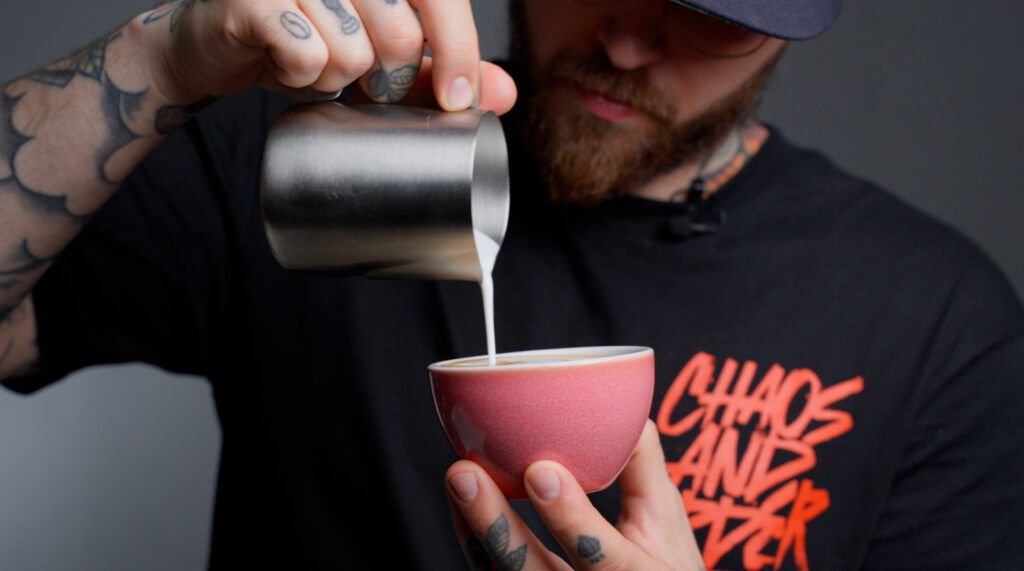
Mistake #3: Holding the Pitcher Too High
Many beginners start pouring from too high above the cup, which causes the milk to dive under the espresso instead of sitting on the surface where your art forms.
Fix: Get close! Keep your pitcher around 2 cm from the surface throughout the pour. This keeps the foam on top and allows your pattern to emerge clearly.
Mistake #4: Using the Wrong Cup
That narrow cappuccino cup from your cupboard? Not your friend.
Best choice: A wide cup with a flat bottom. This gives your milk enough space to flow and lets you build well-shaped patterns more easily.
Mistake #5: Not Practising Enough
This is the most common mistake—and the hardest one to fix quickly.

Our advice: Keep going. Even if your first five pours are flops, make ten more. Take breaks if needed, then return to the jug.
Budget-friendly practice ideas:
- Steam soapy water instead of milk (it mimics texture).
- Use instant coffee instead of espresso for lower-cost repetition.
💡 Bonus Tip: Check your milk jug’s alignment—if the handle and spout aren’t in line, you’ll struggle with symmetrical pours.
Final Words
Latte art is part skill, part persistence. Don’t worry if your first pours don’t look Instagram-worthy. With consistent practice (and the right guidance), you’ll start seeing swans and tulips in no time.
👉 If you liked this guide, check out these two next videos in our Latte Art for Beginners series: